Attach Our Effect to the Crowd Control Manager
Now that our class is created, we can attach it to a prefab in Unity.
Create an empty prefab with GameObject -> CreateEmpty. 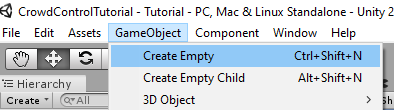
Drag the newly created prefab to the Hierarchy and drop it inside of the Crowd Control Manager Prefab. Expand the prefab and click on the new prefab.

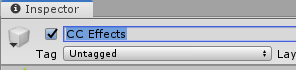
Observe the Inspector pane. Click on the name on the Top Right and rename it “CC Effects”. This is the prefab we will use to store all of our effects.
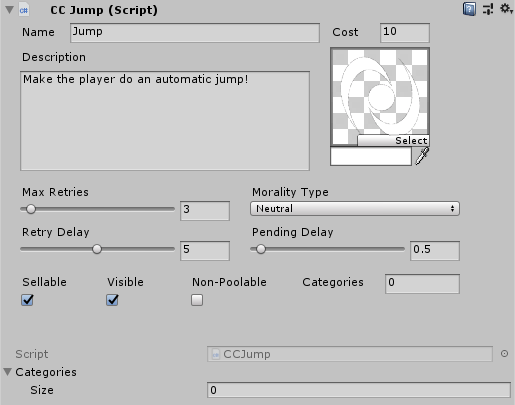
Find your CCJump class in the Project Pane, located in Assets -> Warp World -> Crowd Control Tutorial -> Scripts -> CC Effects. Then drag CCJump into the inspector and drop it onto the CC Effects Prefab. You'll see additional properties for this class that you can modify.
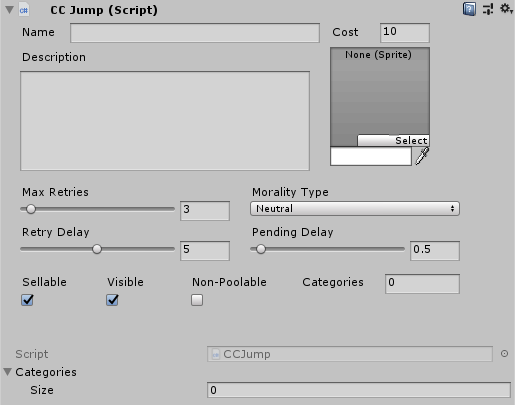
Effect: The name of the effect that will be displayed when executed.
Cost: How many coins will it cost for a viewer to execute this effect?
Description: More information about the effect, which is optional.
Icon: The icon that will be displayed when this effect is executed.
Max Retries: How many times will it attempt to execute this effect before giving up and refunding the player?
Morality: Is this effect intended to help or hurt the player? Or maybe it's neutral, either having no effect on the gameplay or could be either based on the player's state?
Retry Delay: How long in seconds should it take before attempting another retry?
Pending Delay: Delay in seconds to wait before triggering the next effect instance.
Sellable: Can this
Categories: Which categories does this effect belong to? It will appear under specific folders during runtime.
In this case, we will name the effect "Force Jump". Attach any icon (either from the project or your own) and fill out the remainder parameters with whatever you wish.
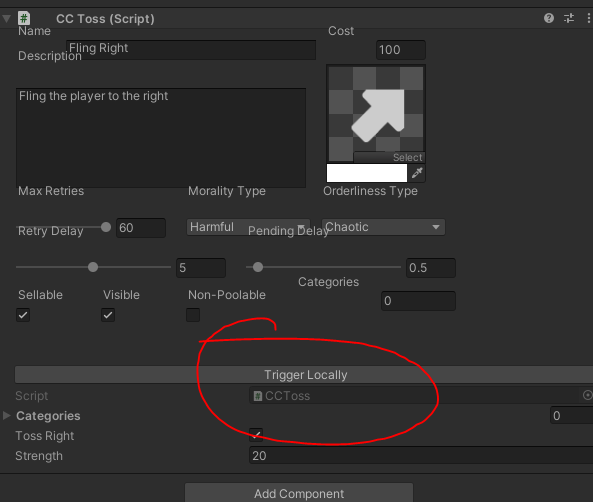
Congratulations, you have created your very first Crowd Control effect! To test it, simply run your game, then click the newly visible "Trigger Locally" button from the CC Effects Prefab.